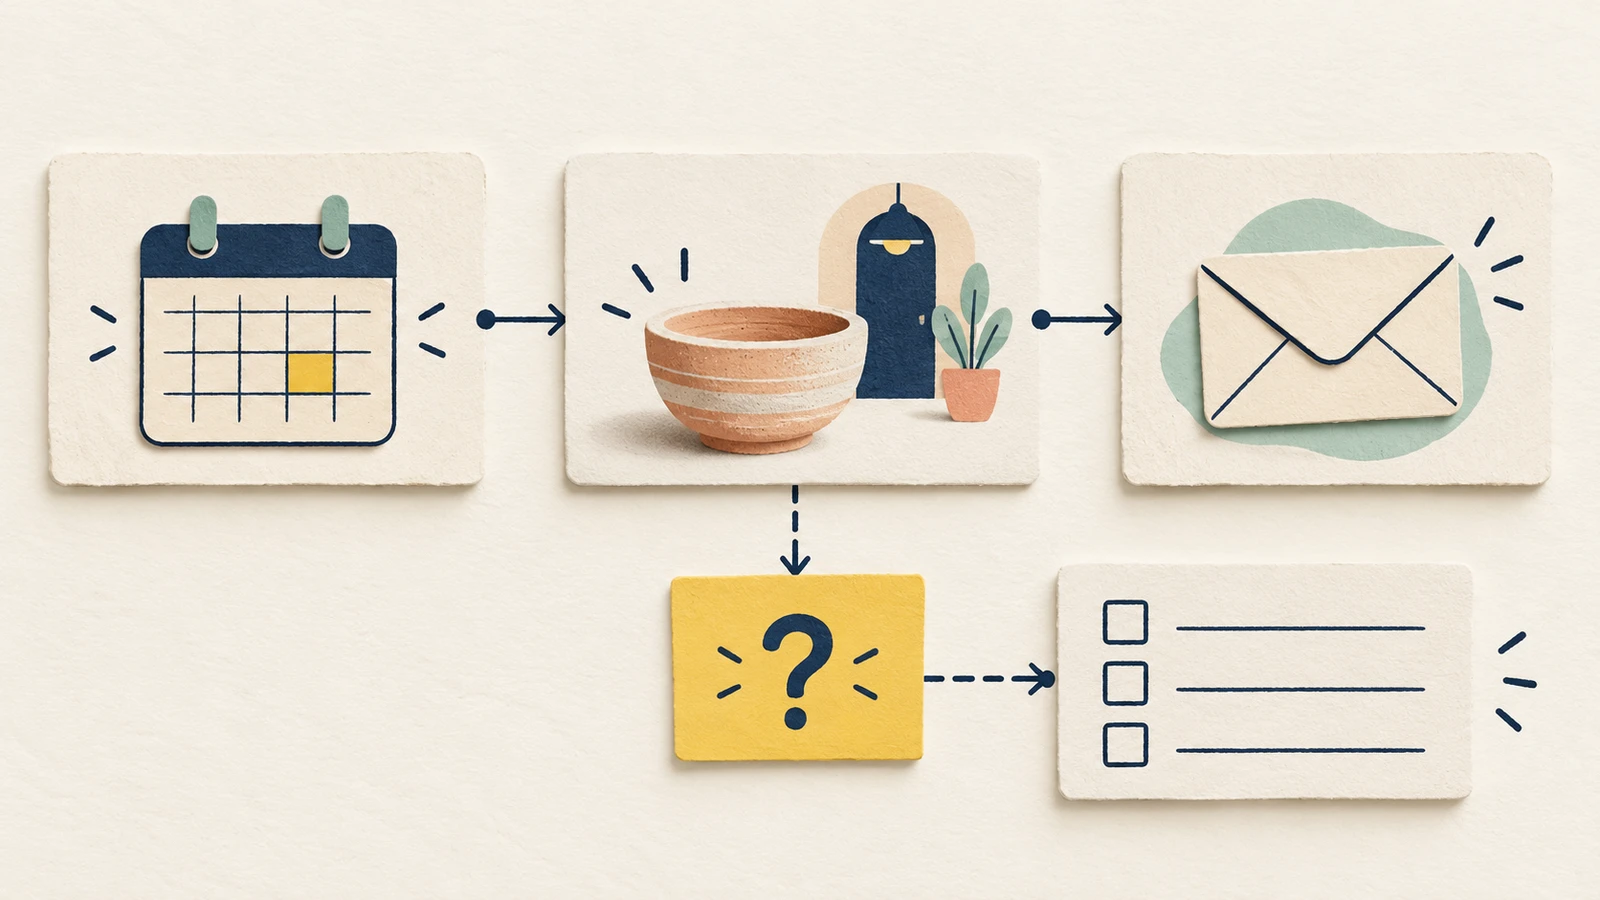
A customer journey map helps your team see how someone works towards a goal across a service. Put their tasks and touchpoints in order, keep the supporting evidence close, and use the gaps to decide what to investigate or change next.
This guide shows how to create a customer journey map that leads to follow-up work. It includes an editable example, a blank customer journey map template and an action worksheet you can take into a team review.
Give the journey a clear purpose
A journey map follows one customer's perspective through a particular scenario. It can include a website, an email, a conversation and a physical visit. Those touchpoints belong together when they help explain the same goal.
Nielsen Norman Group's journey-mapping guide describes a map built around an actor, scenario, journey phases, actions, thoughts and emotions, followed by opportunities. Before drawing, agree what your team needs to understand. That question determines the boundary and the evidence you need.
For example, a map intended to investigate arrival at an appointment needs the instructions sent beforehand as well as the moment someone reaches the building. Starting at the front door would leave out information that could explain what happens there.
Keep one perspective in each map. A customer and an organiser may use the same booking system, but they have different goals and responsibilities. Mixing them makes it harder to follow either account.
Set the boundary for the worked example
For the walkthrough, imagine a first-time attendee choosing a beginner pottery workshop. Their goal is to book a suitable session, attend and access any agreed follow-up. Your team's job is to identify what needs investigating before proposing a service change.
The example is a fictional journey hypothesis. No customer research has been supplied. Its tasks, touchpoints and possible friction are planning assumptions; findings, actual emotions, results and agreed assignments stay blank.
Use three proposed phases:
| Phase | Customer task to check | Touchpoints to investigate |
|---|---|---|
| Book | Choose a suitable session and know whether a place is confirmed | Workshop page and booking confirmation |
| Attend | Reach the studio and join the session | Confirmation message and physical entrance |
| Follow-up | Find any agreed materials | Follow-up email, if the service includes one |
These phases give the team a manageable first boundary. They also expose a dependency: you need to know what was promised before deciding whether the follow-up is missing anything. Leave the service's actual promises open until you have checked them.
Put evidence beside each touchpoint
With the boundary in place, collect the material that can support or change the proposed journey. NN/g's guide to creating customer journey maps describes grounding the map in research and connecting customer actions with touchpoints and channels.
For each phase, record a permitted source reference, the evidence type and when it was collected. A recent attendee's account tells you what they reported. An observation records what a researcher saw. A review of the confirmation message establishes what that message says. Keep those contributions distinct so a reviewer can judge the basis of each claim.
For the arrival phase, the empty evidence record is:
Customer task: reach the studio and join the session
Attendee account / permitted source reference / date: [blank]
Observation, if available / reference / date: [blank]
Confirmation message reviewed / version: [blank]
Finding about arrival: [blank]
Customer's reported thoughts or emotions: [blank]
Do not fill the emotion row with a guessed mood to complete the picture. A blank field tells the team what it still needs to learn. If research later supports different experiences, preserve those differences rather than merging them into one smooth story.
If you are starting with interview notes, use the interview task-map guide to preserve the reported actions and their sources before placing them in the wider journey.
Build the map in EpicDraw
Open the editable starter near the top of the page. It adds a new page alongside your existing drawings. Double-click a label to edit it. Start with the customer, goal and boundary, then name the phases and their tasks.
The worked example reads from left to right across Book, Attend and Follow-up. Read down each column to move from the proposed task to the evidence needed, possible friction and next investigation.
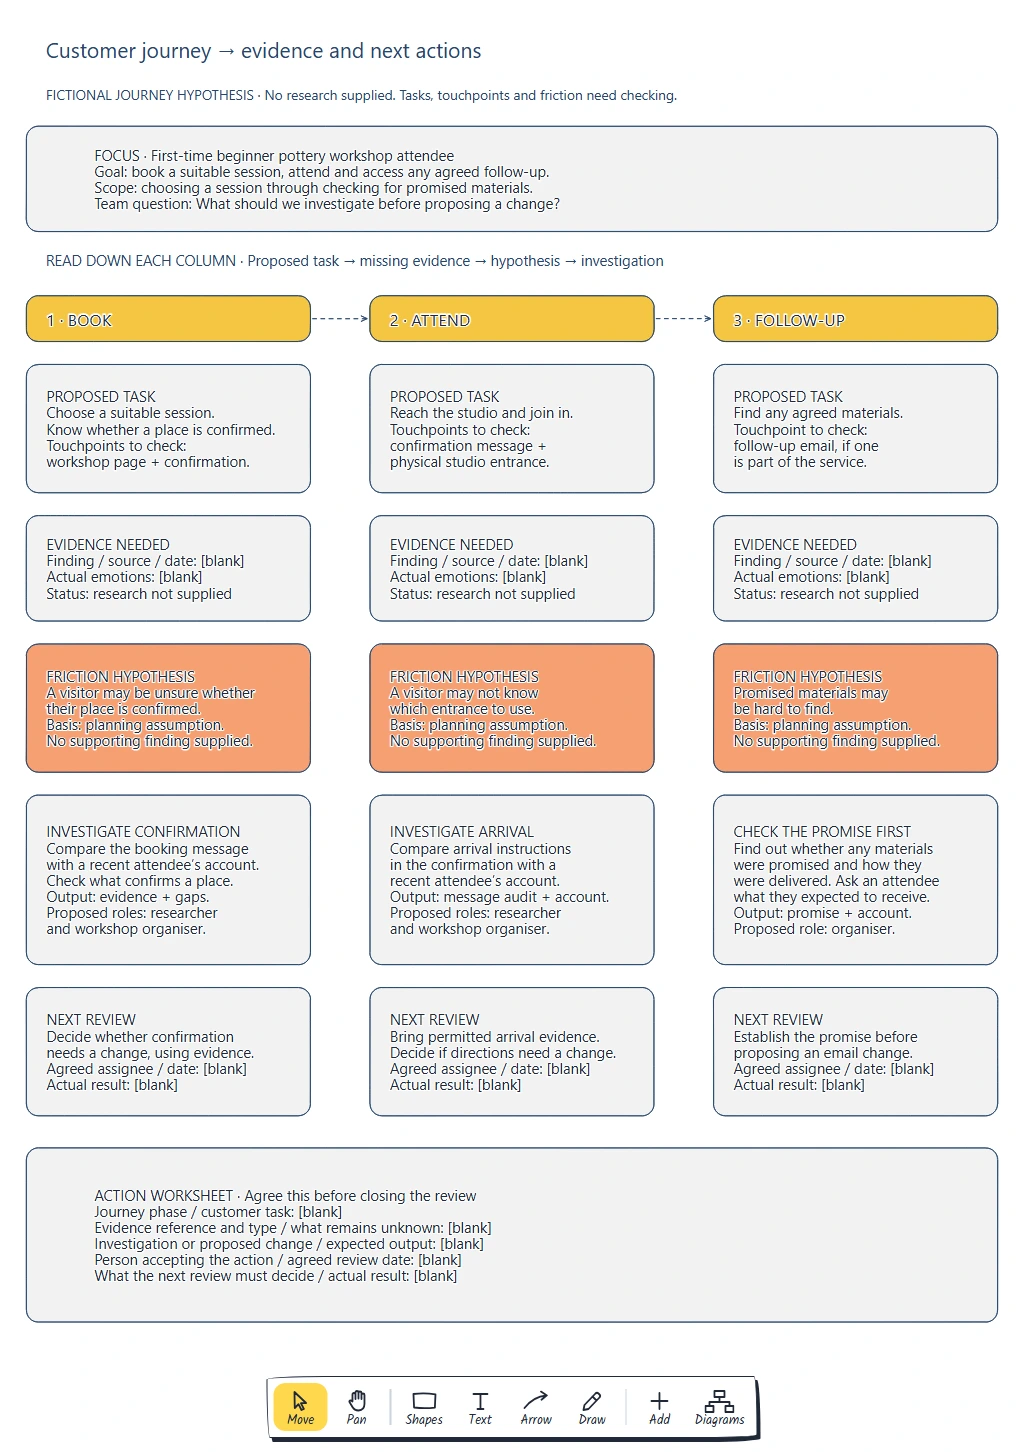
Read down the Attend column: the proposed arrival task leads to an empty evidence record, an entrance hypothesis and an investigation. The dashed arrows between phases mark a proposed journey order.
Keep the evidence close to the claim it supports. A separate research folder can hold the permitted source material; the map needs a usable reference. As evidence arrives, replace the planning label only where that evidence supports a finding. Other parts can remain open.
For a longer journey, add phases when they change the question or responsibility being examined. Keep detailed screen interactions in a separate drawing when they would obscure the service-level view.
Turn possible friction into a useful investigation
The Attend column raises a specific hypothesis: a visitor may not know which entrance to use. That is enough to frame a research question. It does not establish that anyone got lost or that the confirmation needs rewriting.
The next action is to compare the arrival instructions in the confirmation with a recent attendee's account. Ask how they found the entrance, what they referred to and what remained unclear. Record the account in its own terms and inspect the message that person received where available.
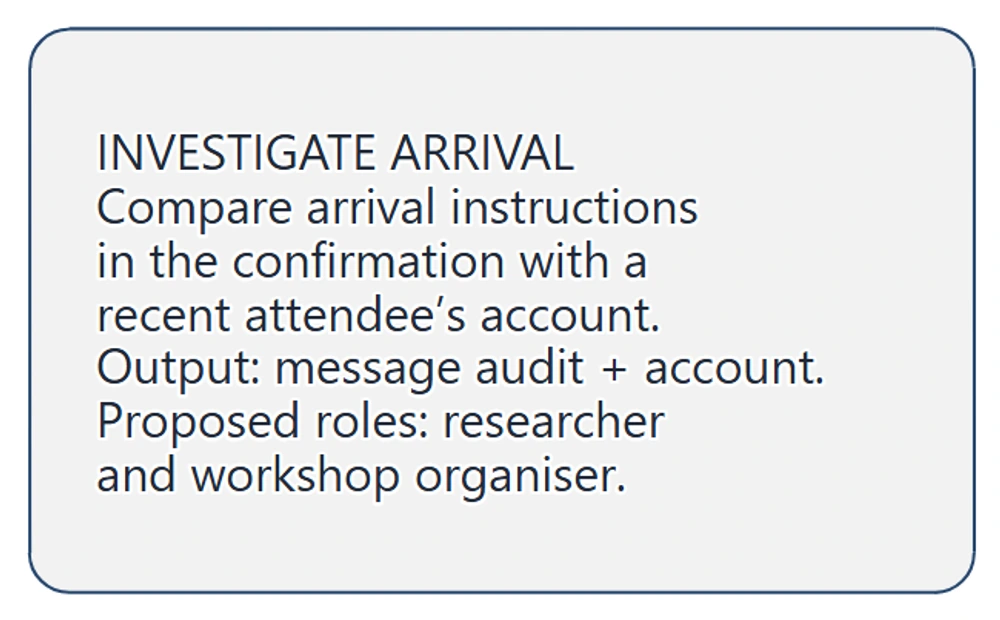
The action names the material to compare and the output to bring back. Researcher and workshop organiser are proposed roles; a person and review date still need agreement.
This investigation should produce a message audit, a permitted reference to the account and any remaining gaps. At the next review, the team can decide whether a directions change is justified, whether another question needs checking, or whether the current hypothesis lacks support. One account may reveal a question worth pursuing; it cannot establish how common an experience is.
Apply the same reasoning elsewhere. For Book, check what confirms a place before redesigning confirmation. For Follow-up, establish whether materials were promised and how they were delivered before adding an email. Each action should follow from the uncertainty in its column.
Agree ownership and the next decision
A role on a map is a suggestion. Ask a named person to accept the action and agree when the team will review its output. If nobody can take it, record the dependency or leave it explicitly unassigned.
Use this customer journey map action template for each selected item:
Journey phase / customer task:
Evidence reference and type:
What remains unknown:
Investigation or evidence-backed change:
Expected output:
Person accepting the action:
Agreed review date:
Decision for the next review:
Actual result, added after the work:
For the arrival example, the next decision is whether the evidence justifies changing the directions. If the team agrees a change, keep its evidence reference and plan how to check the revised instructions. Agree an appropriate measure when you understand the problem; the worksheet leaves results blank until work has happened.
Review checklist
Use this customer journey map checklist to check whether someone else can act on the map:
- Can a reader identify the customer, goal and journey boundary?
- Does each phase explain a customer task and its touchpoints?
- Can they trace findings to permitted sources and distinguish accounts, observations and message reviews?
- Are assumptions and missing evidence visible, including unknown emotions?
- Does each selected action answer a specific question or follow from evidence?
- Has someone accepted the action, with an agreed output and review date?
Takeaways
The customer's task tells you which touchpoints to examine. Evidence helps you judge possible friction. What you still need to learn determines the next investigation, and an accepted action gives the team something concrete to review.
Optional: create the example with MCP
EpicDraw's MCP server lets a compatible AI assistant create an editable planning diagram. Follow the MCP connection guide and connect to https://epicdraw.app/mcp. You need a free EpicDraw account, cloud sync and permission for the assistant to create or edit pages. Remote access covers cloud-synced pages.
Use this prompt to request the worked example:
Using the connected EpicDraw MCP server, create a new editable page named "Journey map with evidence and action rows". Leave existing pages unchanged.

Make a fictional journey hypothesis for a first-time beginner pottery workshop attendee. Their goal is to book a suitable session, attend and access any agreed follow-up. No actual research is supplied.

Use three columns: Book, Attend and Follow-up. Under each, separate proposed customer task and touchpoints, evidence needed, friction hypothesis, investigation and next review.

Book: choose a suitable session and know whether a place is confirmed; check the workshop page and confirmation. Hypothesis: a visitor may be unsure whether their place is confirmed. Investigate what confirms a place by comparing the booking message with a recent attendee's account.

Attend: reach the studio and join in; check the confirmation message and physical entrance. Hypothesis: a visitor may not know which entrance to use. Compare arrival instructions in the confirmation with a recent attendee's account. Expected output: message audit and permitted account reference. At review, decide whether directions need a change.

Follow-up: find any agreed materials; check a follow-up email only if it is part of the service. Hypothesis: promised materials may be hard to find. First establish whether materials were promised and how they were delivered, and ask what an attendee expected. Review that evidence before proposing an email change.

Label all tasks, touchpoints, order and friction as assumptions to check. Use dashed phase connections. Leave findings, source references, dates, actual emotions, actual results and agreed assignees blank. Researcher and organiser are proposed roles only. Add a blank action worksheet for evidence, question, action, output, accepted owner, review date and next decision.

Use editable shapes and text. Check for overlaps and overflowing labels, then return a PNG preview and private editor link. Leave the draft for me to review.
Inspect the returned draft before adding research or assigning work. The supported example recipe has been tested; an assistant may arrange it differently from the screenshots. Creating the diagram does not conduct research, confirm the journey or operate a booking service.
Keep your next draft close
Create a free account to save your pages in the cloud and use them across devices.
Create a free accountYou can keep drawing without an account.